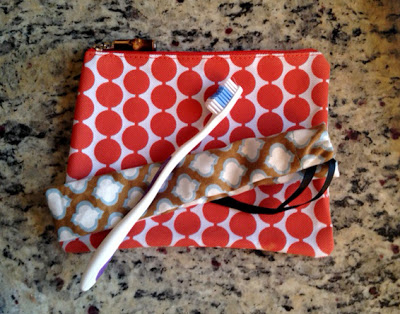
When I travel, I pack my toiletries in all kinds of fun little pouches and bags. And for a while, I would put my toothbrush in one of those plastic toothbrush containers. But it always seemed so dirty and unsanitary. So lately I’ve been wrapping a piece of Kleenex around it… probably even less sanitary. So I decided to make a little fabric toothbrush holder instead. It’s breathable, doesn’t take up much space, and it can be easily tossed in with your laundry when it needs to be cleaned (or even the dishwasher!).
I wanted to share the instructions with all of you, too. So read on for detailed directions on how to make this easy little toothbrush holder.
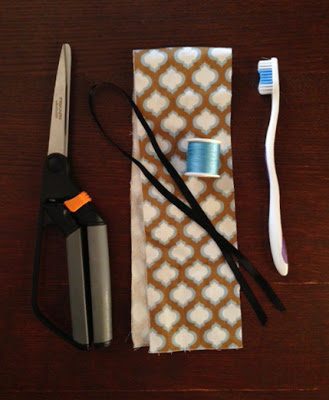
Here are the materials that you will need:
- A piece of thick cotton *fabric, 18″ x 3.5″
- 12″ of narrow satin ribbon
- Thread
- Scissors
- Sewing machine or a needle
- Your toothbrush (for measuring purposes)
- A safety pin would be helpful
*This tutorial will work for an electric toothbrush as well… just increase your fabric size to 20″ x 5.5″
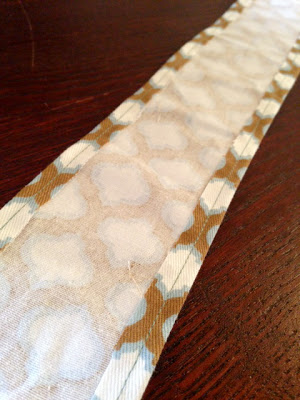
Fold the long edge of the fabric over about a half an inch, and sew all the way down with a quarter inch seam allowance. Do the same for the other side.
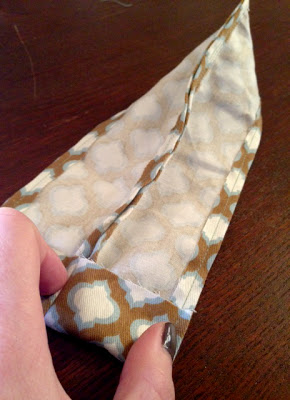
Next, fold the long 18″ piece of fabric in half with right sides together, so it is now 9″ long. Sew all the way down one side, again with a quarter inch seam allowance. Grab your toothbrush and lay it on top of the fabric. The fabric should be about 2″ longer than the toothbrush. If not, trim the length down to that size.
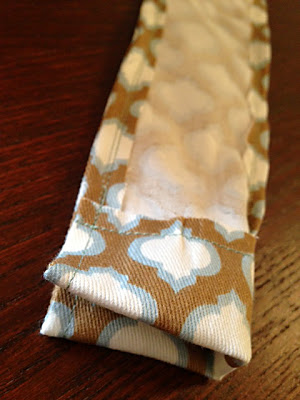
Now open it up, fold the raw top edge down 1 1/4″ and sew with a 1″ seam allowance. This is where you will soon insert the ribbon.
Fold it back in half and sew almost all the way down the other side. You will want to stop the seam just above the seam that you just created for the ribbon casing. Turn it right side out.
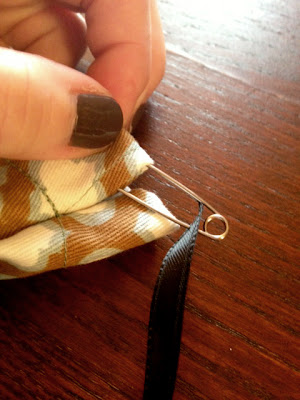
This is where a safety pin will come in handy. Attach one end of the ribbon to the safety pin and thread it through the ribbon casing. Now your toothbrush holder is complete! Easy, right?
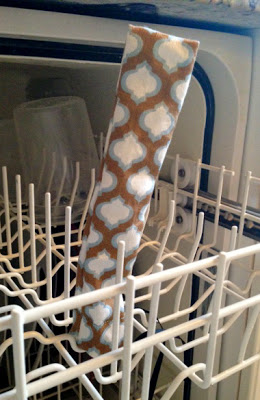
You can even clean it by throwing it in the dishwasher (just make sure it’s secure). Leave a comment below if you have any questions about the tutorial… happy sewing everyone!
More sewing tutorials available at Sewing Fixation, my new tutorial store.
xo,
Faith
{Design Fixation}

Comments are closed.