
Last week I showed you some images of my friend’s beautiful pink and white wedding, and today I wanted to give you a behind-the-scenes look at our DIY place card board project that you saw in those photos. The image below was our inspiration:
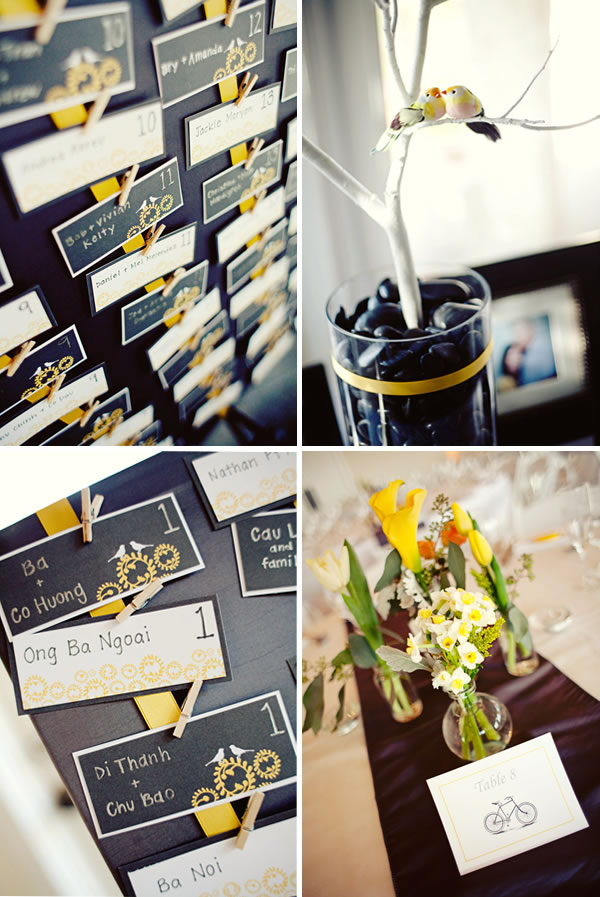
Found over at Style Me Pretty.
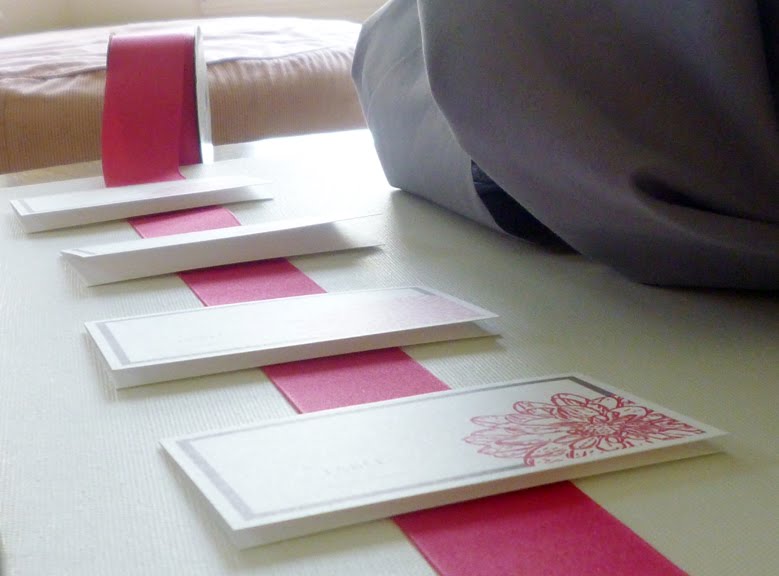
Here are the materials you’ll need:
– Canvases in desired size
– Bright colored 1.5-2″ wide ribbon
– Neutral fabric for background color
– Mini clothespins
– Extra strength sticky tape (Can’t remember what
it’s called, but you’ll find it at the craft store)
– Scissors
– And the place cards, of course
First, lay out your place cards on the bare
canvas to make sure everything fits.

Make sure you don’t get the “Extra
strength sticky tape” stuck to yourself.

Cut the fabric, leaving 2 inches of extra and fold and
tape it to the back of the canvas. Make sure to pull it tight.
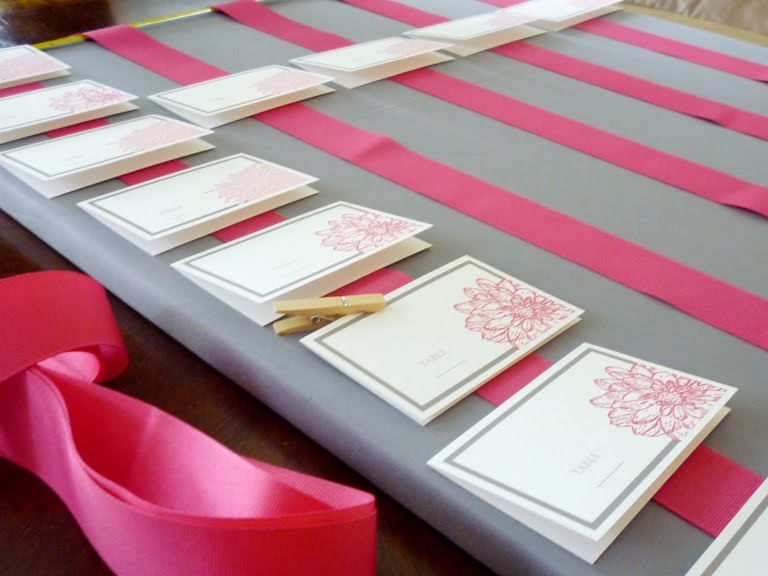
Cut strips of ribbon to the appropriate length, again leaving
a couple of extra inches so you can tape them to the back of
the canvas. Lay out the ribbons to find the proper spacing.
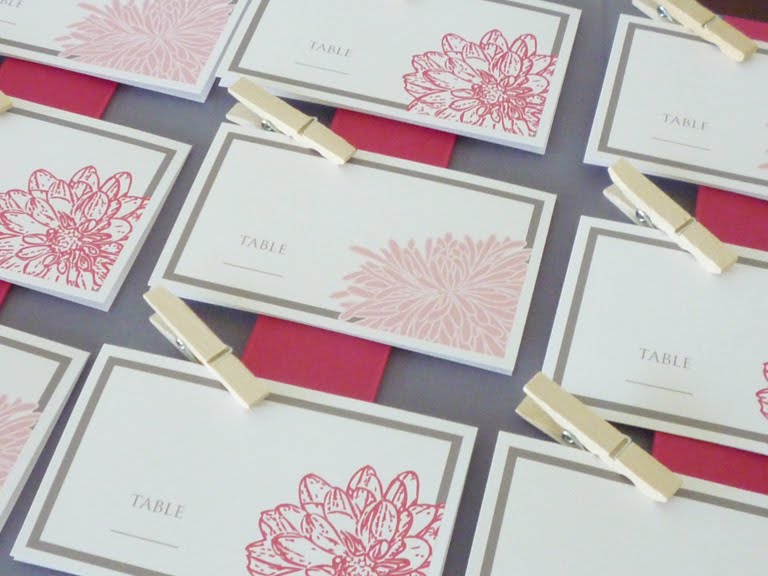
Voila, you’re done! (Don’t forget to have your calligrapher
write the guests’ names on the cards before you attach all the
cards…. we attached these purely for blogging purposes).
Hope you enjoyed this tutorial, be sure to stop by tomorrow for some more creative inspiration. *All images by me unless otherwise noted.
Comments are closed.